Install Profinity on Linux and macOS
Install Profinity on Linux or macOS with the bootstrap installer, or from a downloaded archive. For Windows, refer to Install Profinity on Windows, and for containers, refer to Install Profinity with Docker.
| Method | Use when | Result |
|---|---|---|
Bootstrap installer (install.sh) |
You install on a Linux server or embedded device, or any host where Profinity should start on boot | Selects the right archive for the host, installs into /opt/profinity, creates the profinity service user, and on Linux with systemd creates the profinity.service unit |
| Archive installation | You are trying Profinity, running it interactively, or installing without root or systemd | Files extracted into a folder of your choice, and started by hand with ./profinity.sh |
Install with the bootstrap installer
The installer downloads the release archive that matches the host operating system and CPU architecture, verifies it, and unpacks it into an install root, /opt/profinity by default.
On Linux with systemd it also creates the profinity service user, the artefacts directory, and the profinity.service unit.
Installing does not start Profinity. When it finishes, the installer prints [profinity] Installed to followed by the install folder, /opt/profinity by default.
On Linux, run the installer as root with sudo, unless you use --no-systemd with a writable --install-dir.
The host needs internet access, or a local archive as described under Installer options.
-
Download the installer and its checksum:
-
Verify the checksum and run the installer:
On macOS, use
shasum -a 256 -c install.sh.sha256in place ofsha256sum -c. -
On Linux, start Profinity as the service user with
sudo -u profinity /opt/profinity/profinity.shto test the configuration, because that user owns the data directory. On macOS, run/opt/profinity/profinity.sh. The log ends with aNow listening online that gives the address to open, as in the sample output on Install Profinity from an archive. To start Profinity as a service instead, refer to Run Profinity as a service.
The installer can also be piped straight into the shell with curl -fsSL https://github.com/Prohelion/Profinity/releases/latest/download/install.sh | sudo bash.
Avoid this on production hosts
That trusts the network transport only and cannot verify the checksum, so avoid it on production hosts.
Installer options
| Option | Type | Default | Effect |
|---|---|---|---|
--install-dir <path> |
Text | /opt/profinity |
Install into a different location than /opt/profinity |
--version <x.y.z> |
Text | The latest release | Install a specific GitHub release, given as x.y.z or vx.y.z, instead of the latest. Ignored with --channel. |
--channel <name> |
Text | GitHub releases | Download from a Prohelion file server channel instead of GitHub. Prohelion supplies the channel name and the installer address |
--package <archive> |
File upload | None | Install from a local .tar.gz or .zip in place of a download, for hosts without internet access. The checksum step is skipped for a local package |
--no-systemd |
On or off | Off | File-only install: skip the service user, artefacts directory, and systemd unit |
--dry-run |
On or off | Off | Print the planned actions without changing the system |
For a channel, download the installer from the address Prohelion supplies, then run it with the channel name:
Update Profinity
update.sh, installed alongside profinity.sh in the install root, fetches the matching release for the installed edition. To update, run /opt/profinity/update.sh.
It swaps the application files in place.
It takes the same --channel and --version options as the installer, and does nothing if the installed version is already current.
Pass --force to reinstall anyway.
If the profinity service is active, update.sh stops it before it applies the update and restarts it afterwards.
Where Profinity stores its data
On Linux, Profinity 2.3 stores writable data under /var/lib/prohelion/profinity by default, not ~/.local/share, and it uses only that location.
On macOS the default is ~/Library/Application Support/Prohelion/Profinity.
On Linux, the bootstrap installer creates this directory, unless you pass --no-systemd.
For more information, refer to Artefacts directory.
Open the web interface
Open the address that the Now listening on line of the log reports, or the httpAddress and httpPort values in config.yaml.
By default Profinity listens on all network interfaces (0.0.0.0) on port 18080.
You reach it at http://localhost:18080 on the local machine, or at http://<host-name-or-ip-address>:18080 from another machine, where <host-name-or-ip-address> is the name or address of the machine that runs Profinity.
Other machines can open the web interface during the 14-day local trial and with a Server licence, as described in Who can sign in, by installation type.
Your browser then shows the Profinity sign-in page.

On a fresh installation, sign in as admin with the password password, and choose a new password when Profinity asks for one at first sign-in.
For the accounts on each installation type, refer to Who can sign in, by installation type, and for how to choose the password, refer to the Security guide.
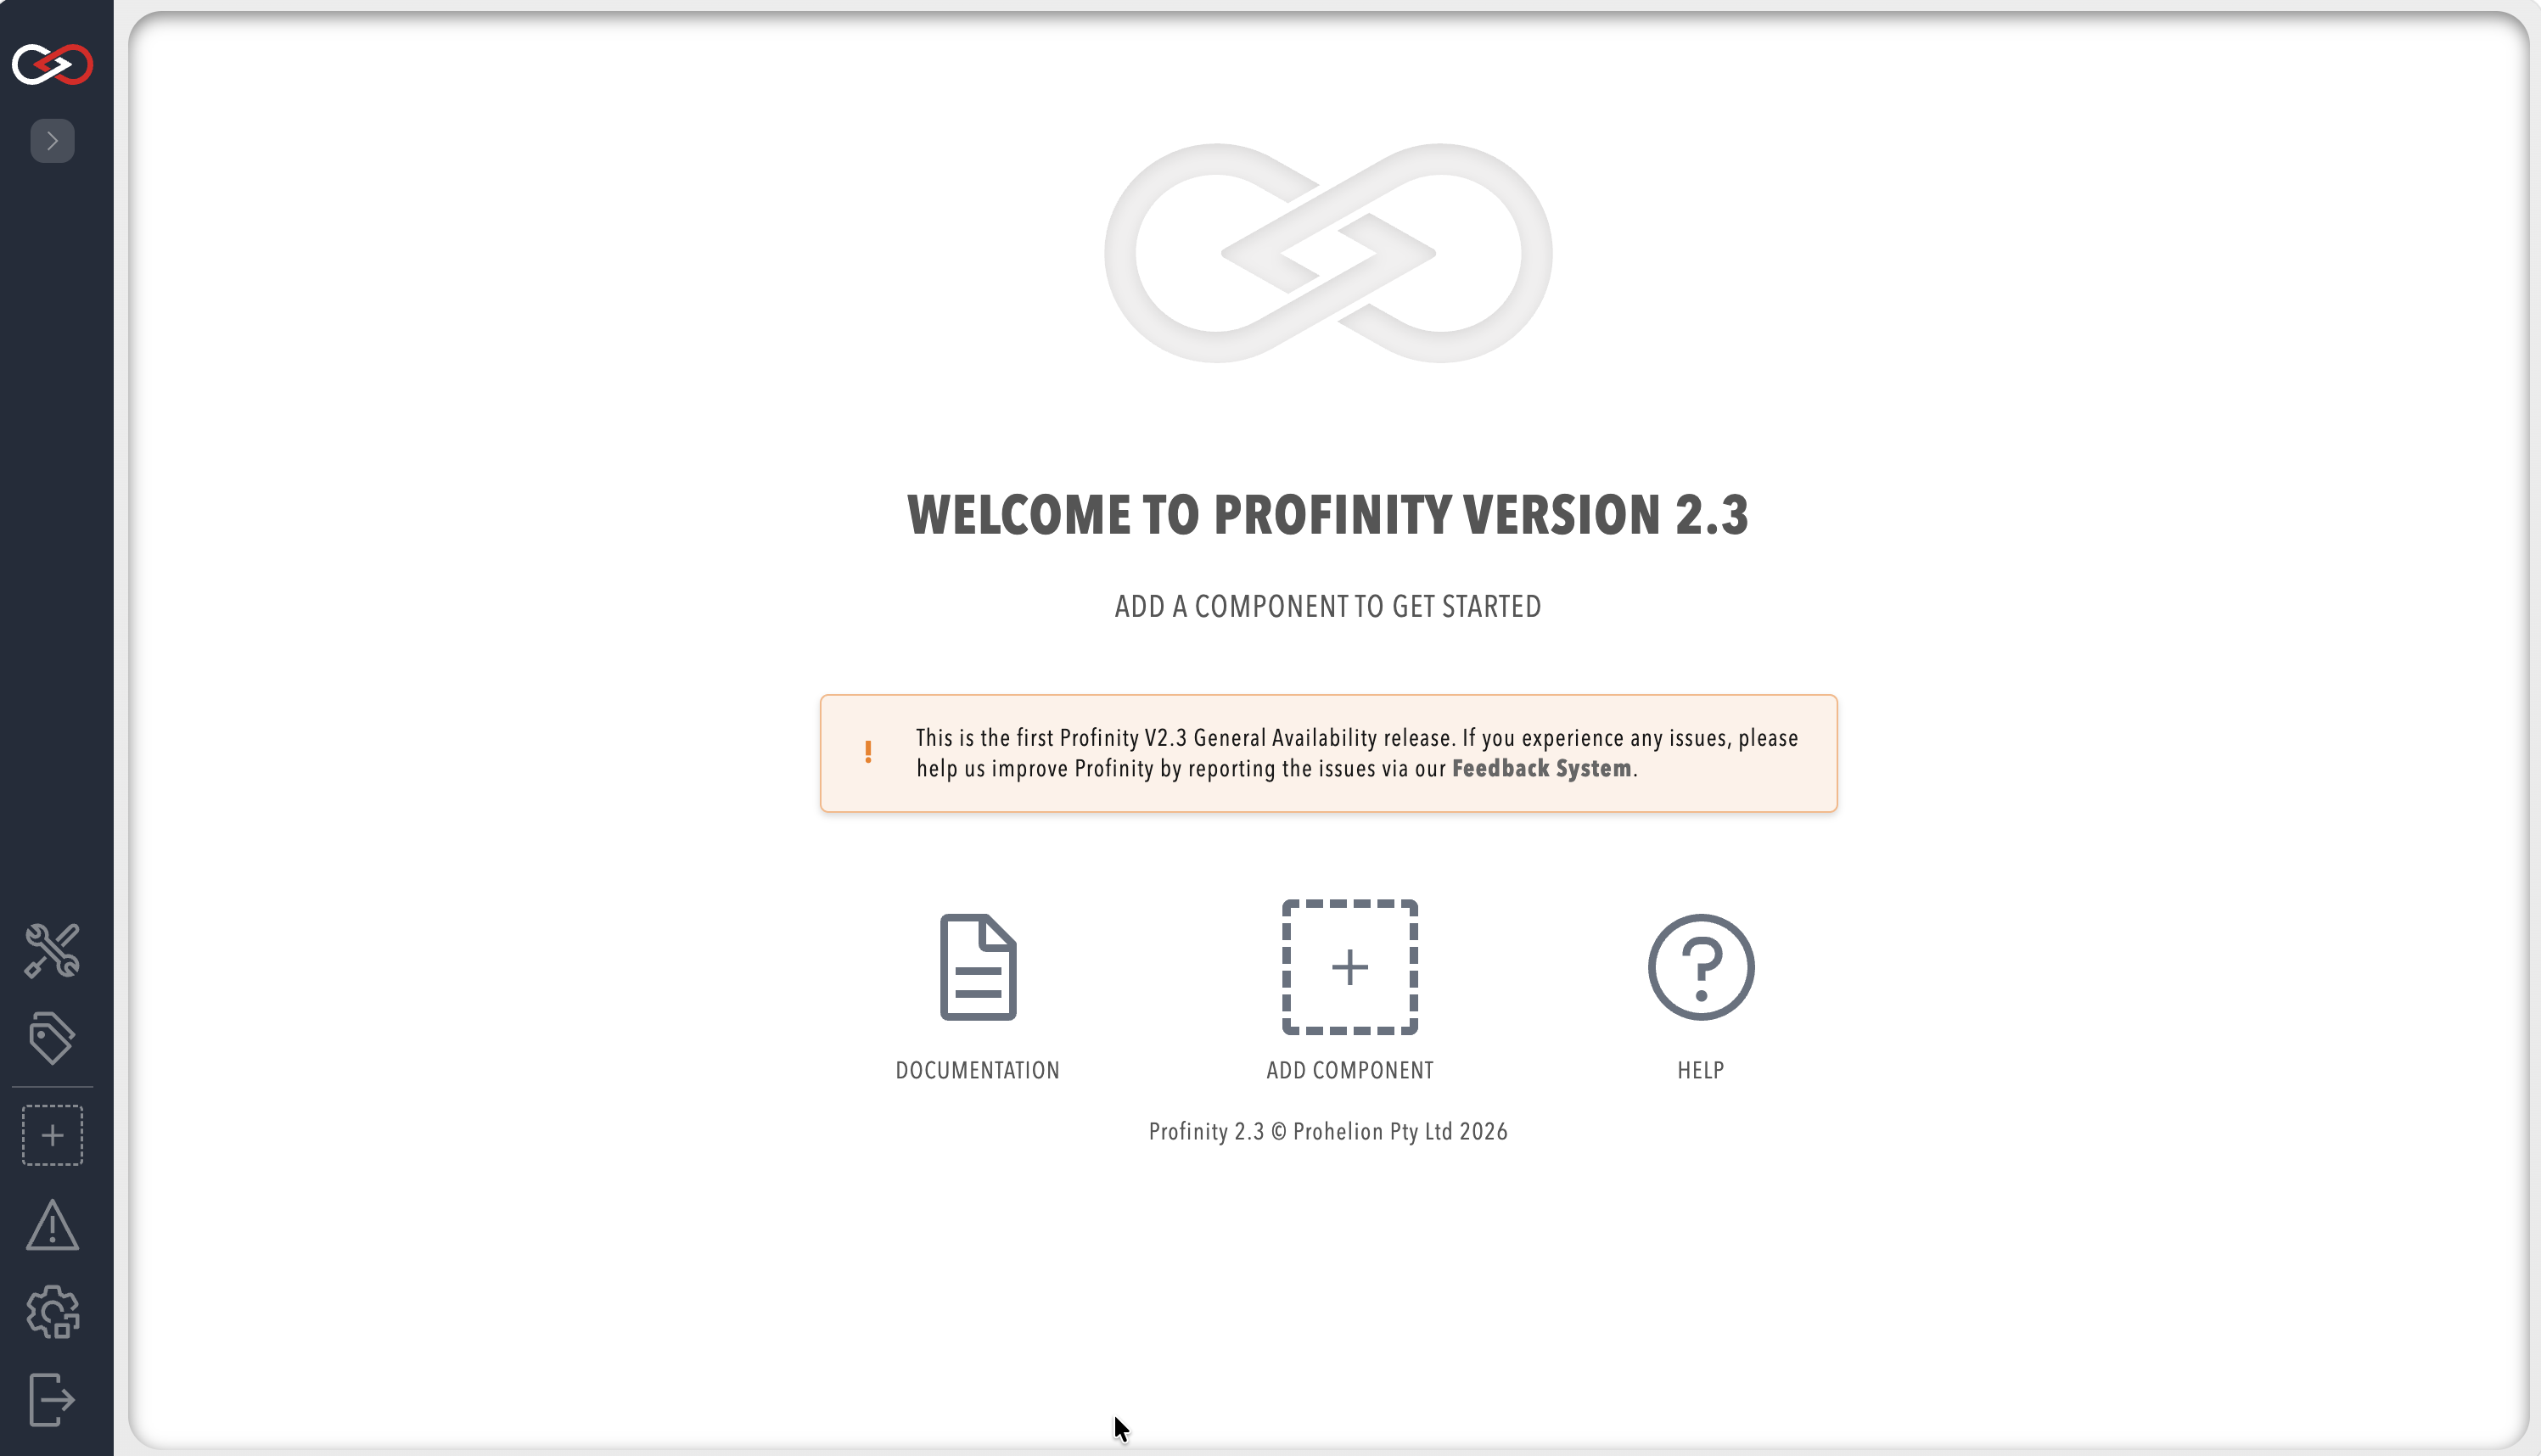
After you sign in, the Profinity homepage appears.
To stop Profinity in a terminal, press Ctrl-C in that window.
To stop it as a service on Linux, run sudo systemctl stop profinity, as described in Run Profinity as a Linux service.
Troubleshooting
| What you see | Cause | What to do |
|---|---|---|
On Linux, Profinity logs Unable to create directory '/var/lib/prohelion/...' and then fails to save its configuration |
The account that runs Profinity does not own the directory | Run sudo chown -R profinity:profinity /var/lib/prohelion for the service user, or set PROFINITY_HOME to a path the account can write, as described in Set a variable |
To keep Profinity running across restarts, refer to Run Profinity as a service.