Charger components
A charger component lets Profinity control a charger or programmable power supply, so that a Prohelion Battery Management Unit (BMU) in the same Profile can charge the pack. The components sit in the Chargers & Power Supplies group. How the BMU balances the cells while it charges is described in the hardware documentation, such as D1000 Gen1 Charger Control. On a D1000 Gen2 the BMU hardware manages charging, as described in the D1000 Gen2 documentation.
flowchart LR
    subgraph Profile["Profile"]
        BMS["Prohelion BMU"] --> Component["Charger component"]
    end
    subgraph Hardware["Charger"]
        Charger["TDK, Siglent or Elcon"]
    end
Component --> ChargerSupported chargers
| Component | Controls | Connection |
|---|---|---|
| Elcon Charger | Elcon chargers | Controller Area Network (CAN), through a CAN adapter that is already in the Profile |
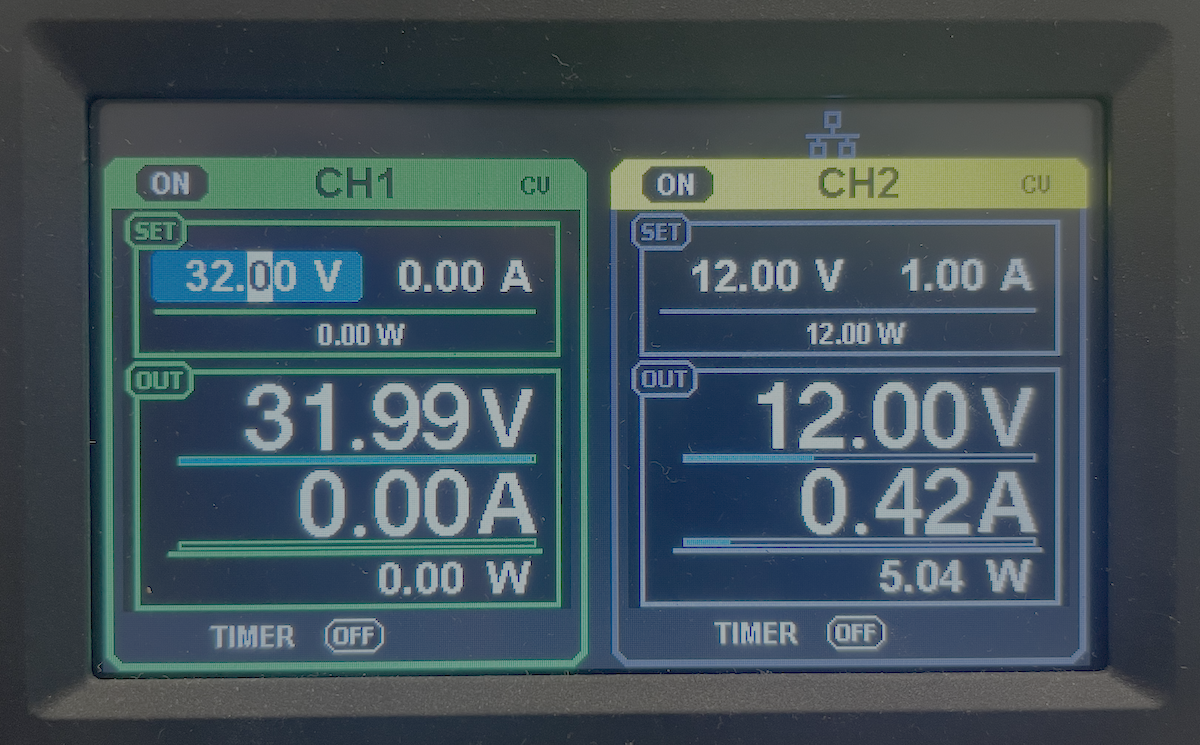
| Siglent Power Supply | Siglent programmable power supplies that accept Standard Commands for Programmable Instruments (SCPI) commands, such as the SPD3303X-E, which suits desktop testing | Transmission Control Protocol (TCP) over the network |
| TDK Power Supply | TDK programmable power supplies, such as the Genesys family, using SCPI commands | TCP over the network. A supply with only a serial port needs a TCP to serial converter between it and the network. |
Quick start
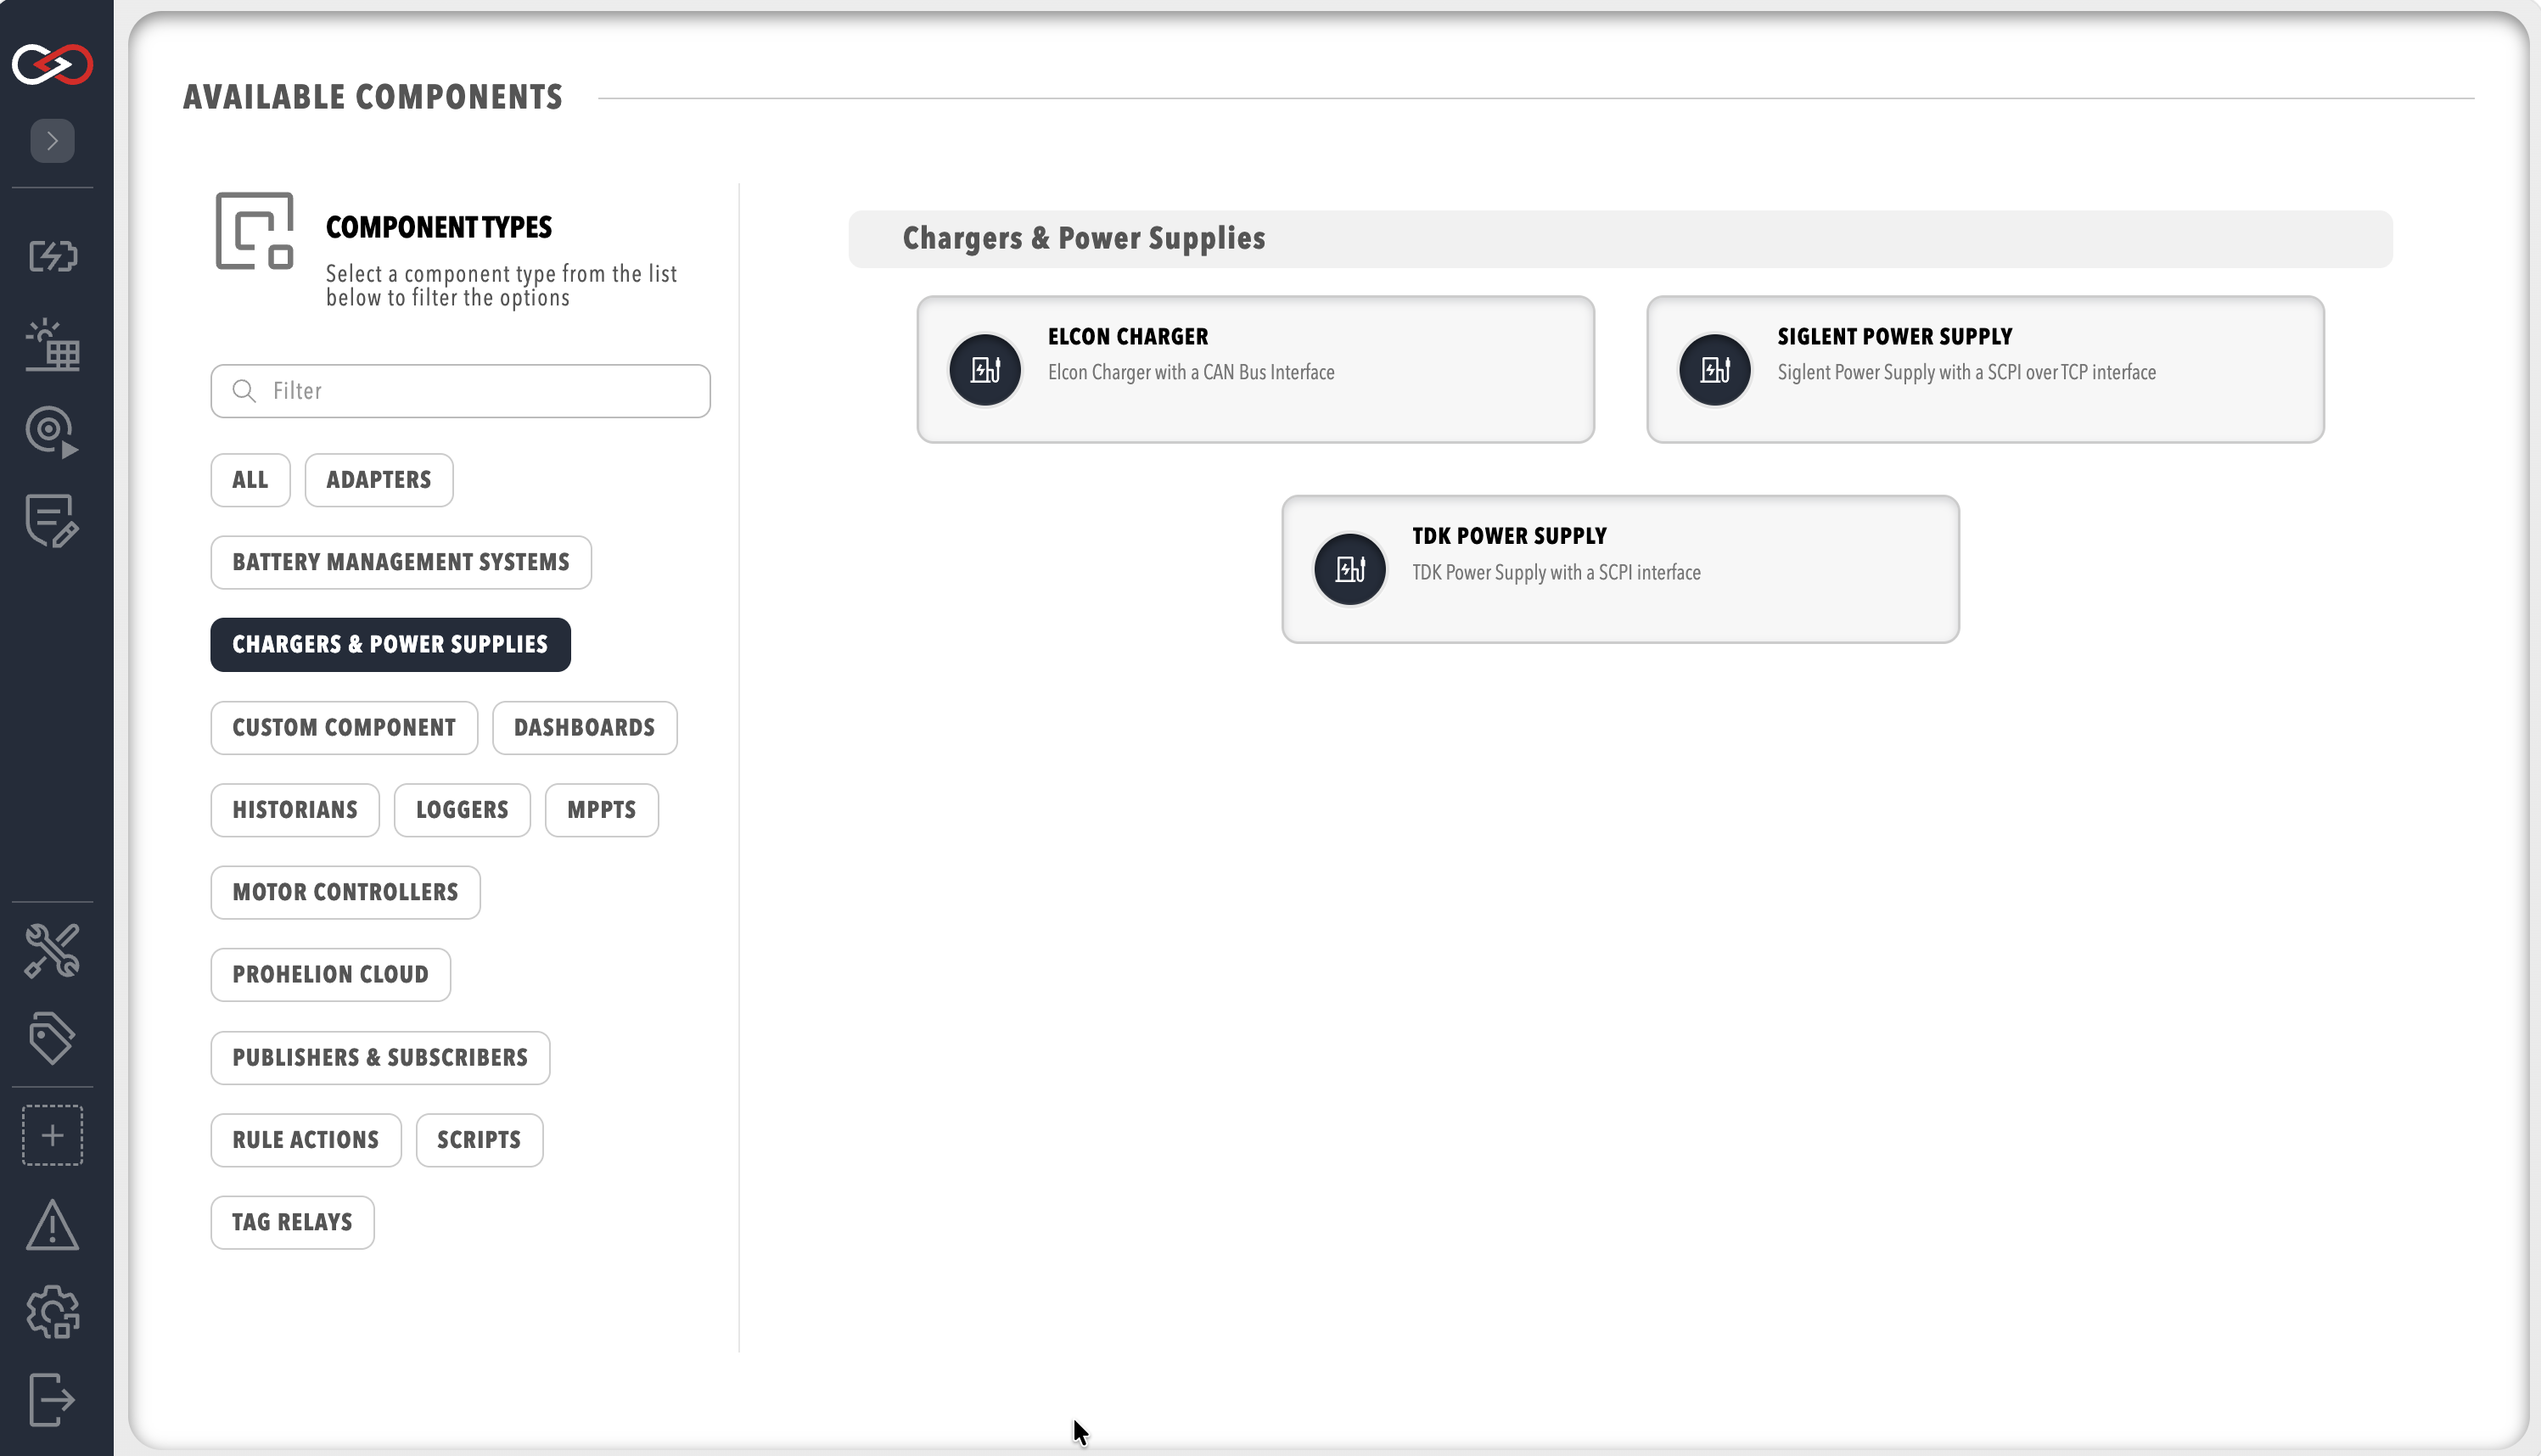
This quick start adds a TDK or Siglent supply. To add an Elcon charger, add a CAN adapter to the Profile first, then select Elcon Charger in the Chargers & Power Supplies group and set its values as listed in Charger settings.
You need:
- A Prohelion BMU in the Profile with Control pack on, because Profinity can engage and disengage the pack for a charge only when it is on. Control pack is off by default, and it is described in Prohelion BMU.
- The IP address and TCP port of the supply, and for a TDK supply the charger ID that the supply is set to.
-
The Control charging permission to use the charging controls, as described in Roles and permissions.
-
Select ADD COMPONENT, then select TDK Power Supply or Siglent Power Supply in the Chargers & Power Supplies group.
- Set Charger IP address to the IP address of the supply.
- Set Charger port to the port the supply listens on. The default is
5025. - For a TDK supply, set Charger ID to the ID the supply is set to.
- Set Charger voltage limit, Charger current limit, and Charger power limit to the maximum output of your supply. The defaults are listed in Charger settings.
- Select ADD COMPONENT.
- Select Connect / Disconnect from the charger's menu. Auto connect is off by default.
- In TAG EXPLORER, check that the charger's
IsConnectedtag is true.
The charger then appears under Chargers & Power Supplies in the main menu, with its own dashboard. To run a charge, refer to Start a charge.
Settings
Every charger asks for its output limits and the limits of the supply that feeds it, and the TDK and Siglent supplies also ask for their network address. Charger settings lists every setting, with its type, default for each charger, and effect.
Tags
Every charger publishes these tags:
| Tag | Contents |
|---|---|
ActualCurrent |
The current the charger is delivering |
HardwareStatusColourText, TempStatusColourText, CommsStatusColourText, ACStatusColourText, DCStatusColourText |
The status colour of the hardware, temperature, communications, AC input, and DC output indicators on the dashboard |
The TDK, Siglent, and Elcon chargers also publish ChargeController, BatteryManagementSystem, and IsConnected.
Example
This example adds a TDK supply at a network address you supply.
Add it under components: in the profile.yaml file of the profile.
- component:
    type: TDKPowerSupply
    id: TDKPowerSupply1
    name: TDK Power Supply
    tagTreeParentPath: /
    chargerIpAddress: SUPPLY_IP_ADDRESS
    chargerPort: 5025
    chargerId: CHARGER_ID
    chargerVoltageLimit: 300
    chargerCurrentLimit: 10
    chargerPowerLimit: 3000
    supplyVoltageLimit: 240
    supplyCurrentLimit: 10
    autoConnect: false
Replace SUPPLY_IP_ADDRESS with the IP address of the supply and CHARGER_ID with the ID it is set to, and set the limits to match your supply.
Troubleshooting
| What you see | Cause | What to do |
|---|---|---|
| "You must provide a charger Id for your charger" when you add a TDK supply | Charger ID is empty. | Set Charger ID to the ID the supply is set to. |
The IsConnected tag stays false after Connect / Disconnect |
Profinity cannot reach the supply at Charger IP address and Charger port. | Check the address and port against the supply's network settings, and check that the supply is on the same network as the computer running Profinity. |
| A charge does not start | Control pack is off on the BMU, so Profinity cannot engage the pack. | Turn on Control pack on the BMU, as described in Prohelion BMU, then start the charge again. For the other causes, refer to Start a charge. |
Related components: Prohelion BMU and the CAN bus adapters that an Elcon charger uses.